Getting Your UV Curing Right in Automated Textile Printing
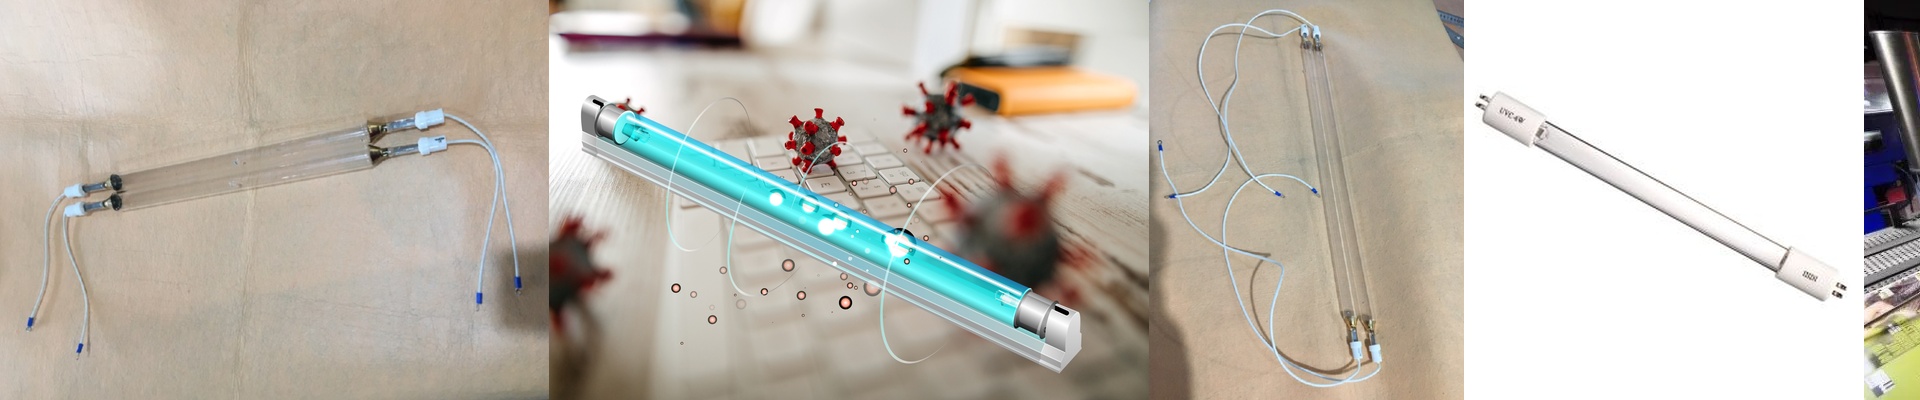
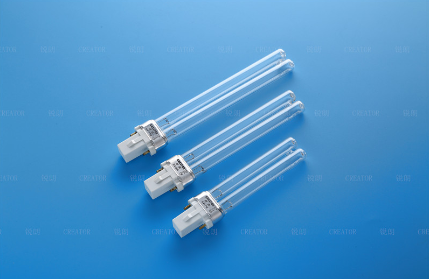
When you’re running an automated line, those UV lamps aren’t just there to “dry” the ink. They’re actually triggering a chemical reaction that locks the ink into the fabric the second it hits. If it’s done right, the print stays put. If it’s not? You’re looking at smears, peeling, and a lot of wasted material. Finding the Sweet Spot Here’s the tricky part: fabrics are porous. To get the ink to actually bond, you need the UV light to punch through the surface. If your wattage is too low, the ink stays tacky—that sticky feeling that ruins a batch. But you can’t just crank the power to max to speed up your line. Do that, and you’ll end up scorching the fabric or turning your whites a nasty shade of yellow. It’s all a balancing act between how fast your conveyor is moving and how much juice the lamps are putting out. Dealing with the Heat UV lamps get hot. Really hot. When you’ve got everything packed into a tight automation footprint, that heat builds up fast. We use quartz glass because it can take the stress, but the cooling is where things usually go sideways. You need a solid forced-air or water-cooled jacket to keep the fabric from overheating. If you skimp on the venting, your lamps are going to burn out way sooner than they should. Keeping Things Running Since most textile lines run 24/7, we build these for quick swaps. We use standard connectors so you can just pop in a new tube without having to rewire the whole rack. Plus, you’ve got to keep an eye on the ballast. If the voltage jumps around, the UV output flickers. That leads to “striping,” where some parts of the fabric are cured and others aren’t. And one last tip: clean your reflectors every few months. It sounds simple, but dust buildup on the mirror can kill your efficiency by 30%. Your lamps will end up running hotter just to keep up, which just kills the hardware faster.