The Secret to a Clean Print (and Fewer Headaches)
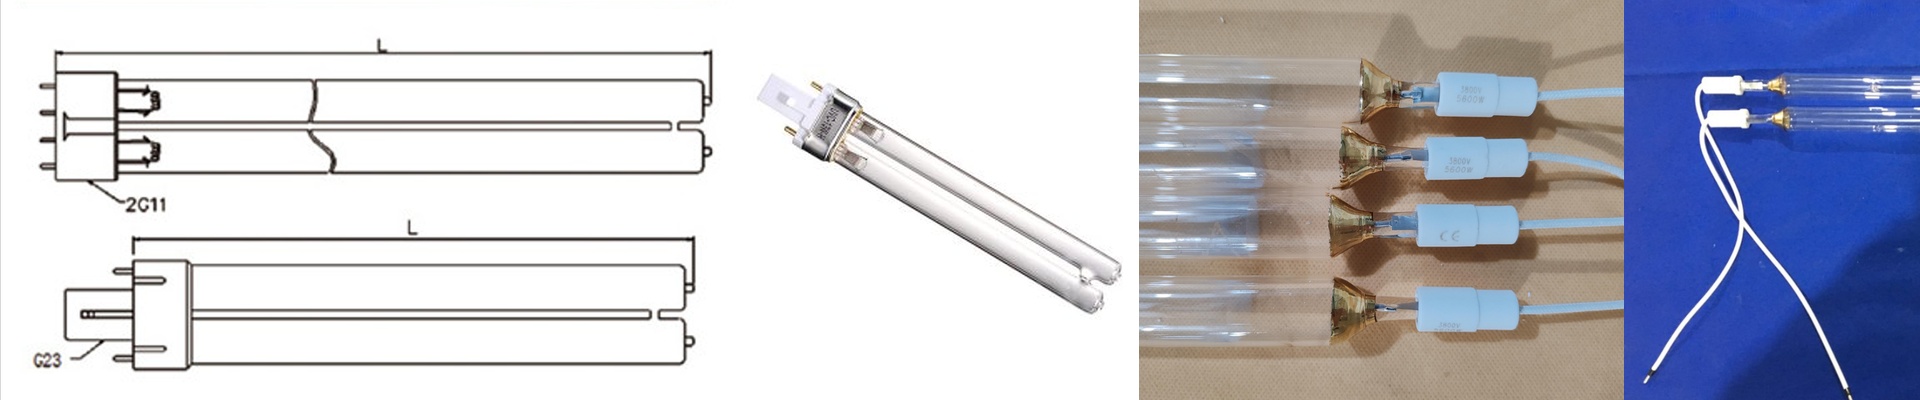
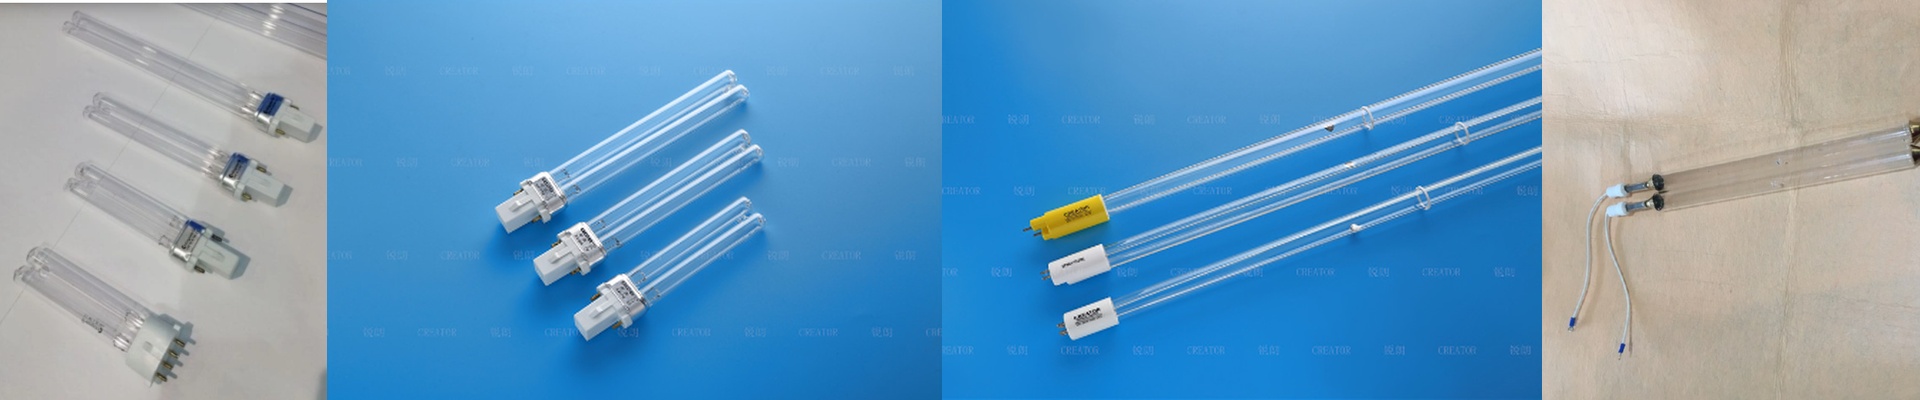
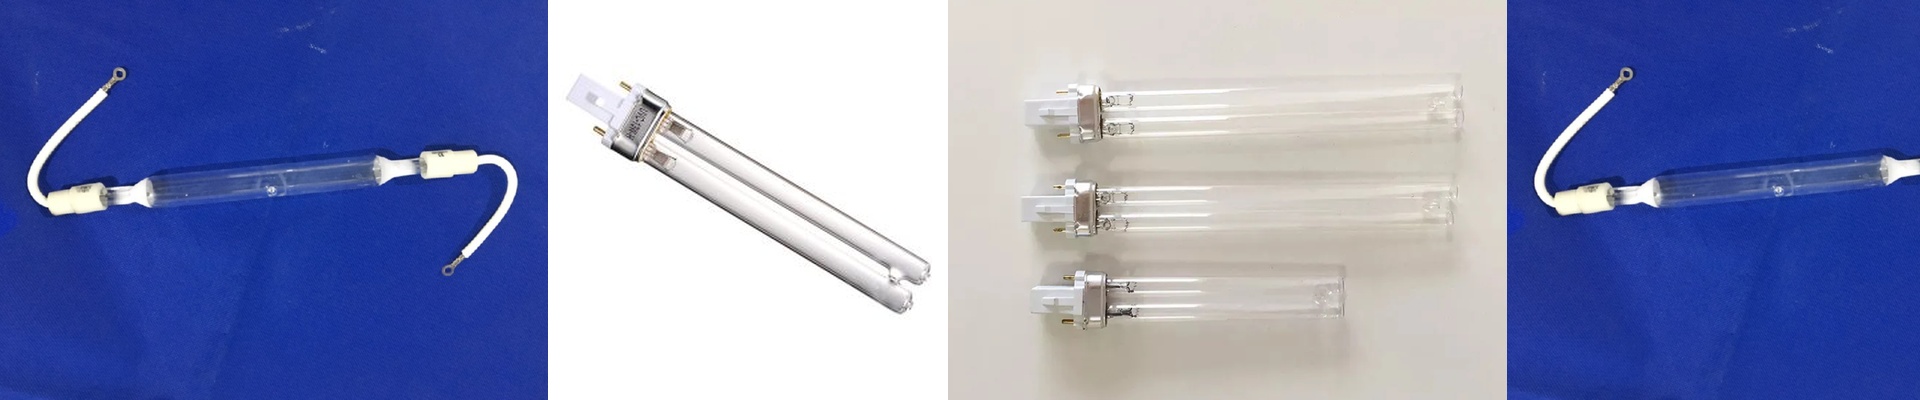
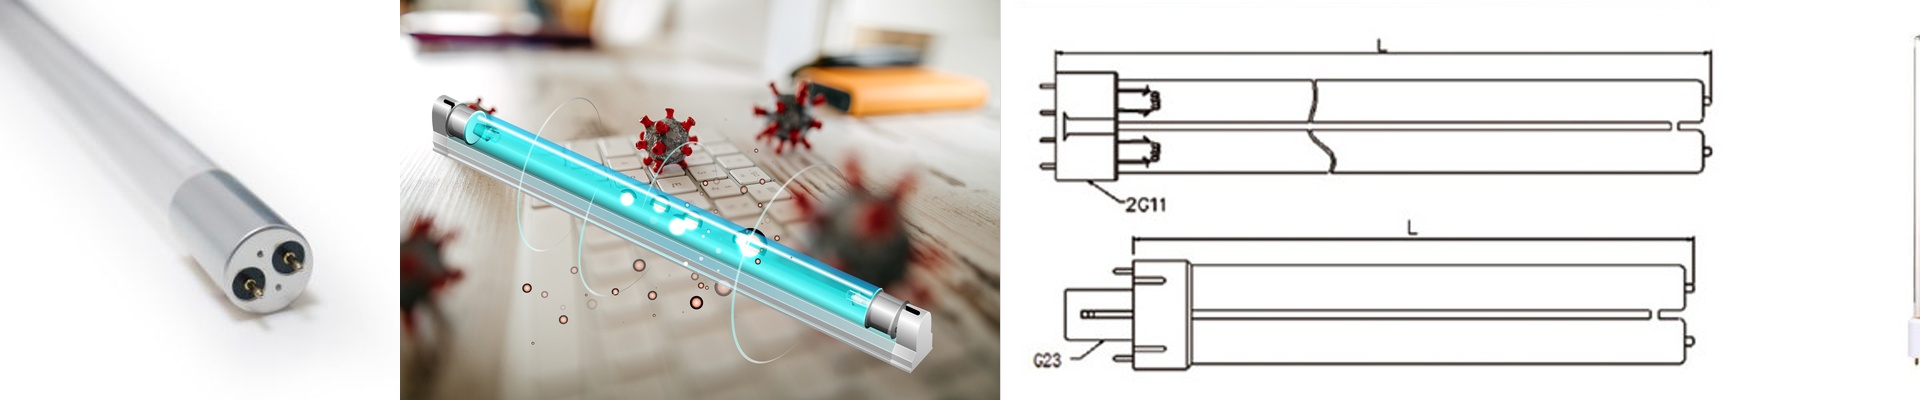
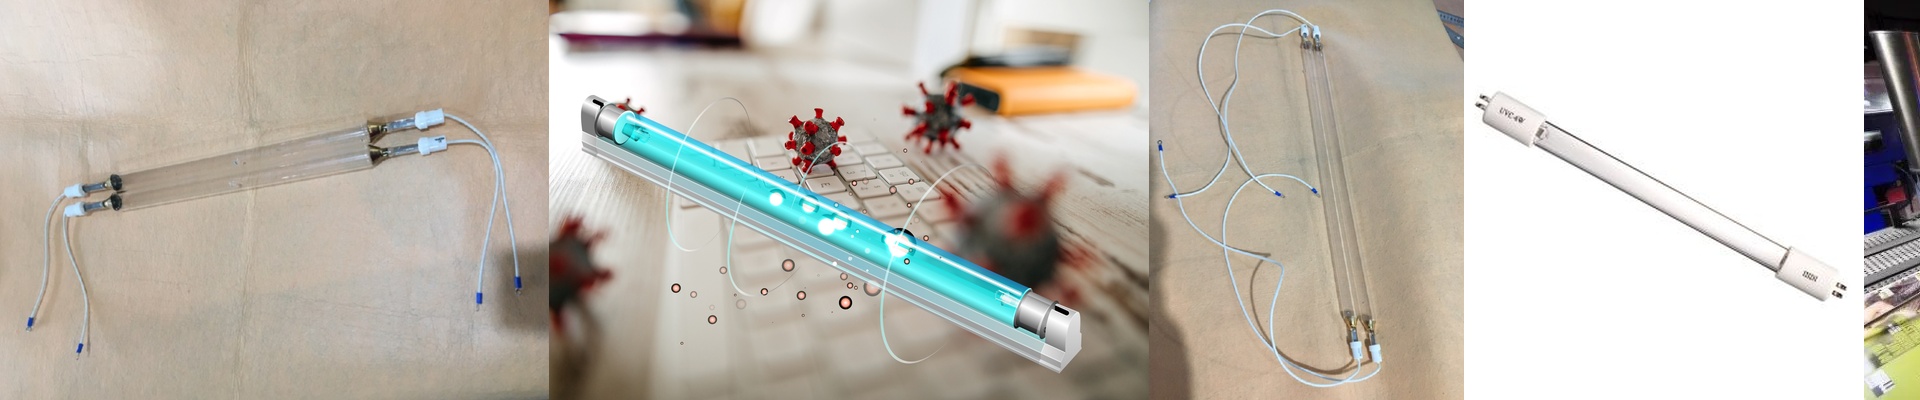
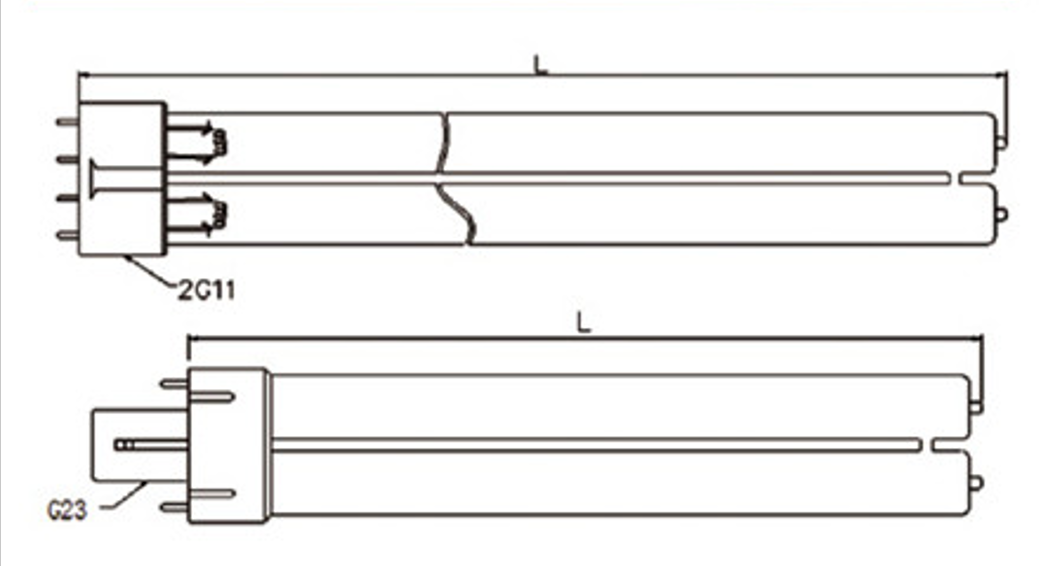
Let’s be honest: UV curing is the unsung hero of the print shop. When you’re running a high-speed line, you need that ink to set now. There’s nothing worse than pulling a run only to find tacky surfaces or smeared ink because your lamps started to fade or the spectrum drifted. It’s frustrating, it’s wasteful, and it makes you look bad. That’s exactly why we build our replacement lamps the way we do. Getting the power right Here’s the thing about wattage and voltage—you can’t just “eyeball” it. If the lamp doesn’t match your ballast perfectly, you’re asking for trouble. You need a specific density of photons to kickstart the photoinitiators in your ink. If you go too low on the power, the ink stays wet underneath, and it won’t bond to the substrate. We keep our spectral output on a very tight leash. That way, you can swap a bulb and keep your line moving at full speed without wondering if the quality is dipping. Heat, glass, and the “invisible” stuff We use high-purity quartz glass. Why? Because standard glass actually blocks the wavelengths you’re paying for. It’s like trying to tan through a window. But remember, high UV output brings a lot of infrared heat with it. If your cooling fans are choked with dust or your reflectors are pitted and dirty, your lamp is going to burn out way too soon.**Keep those reflectors clean.**It’s the easiest way to make sure every bit of light actually hits the web. No more midnight struggles We designed these to be simple drop-in replacements. We obsessed over the footprint and the connectors because nobody wants to be fighting with a housing during a midnight shift change. I’ve seen too many shops try to save a few bucks with “close enough” specs, only to have the lamps die after 500 hours. It’s not worth it. When the voltage and length are exact, you avoid electrical arcing and weird “dead zones” in your curing. The result? Your print looks the same on the far left as it does on the far right. Every single time.