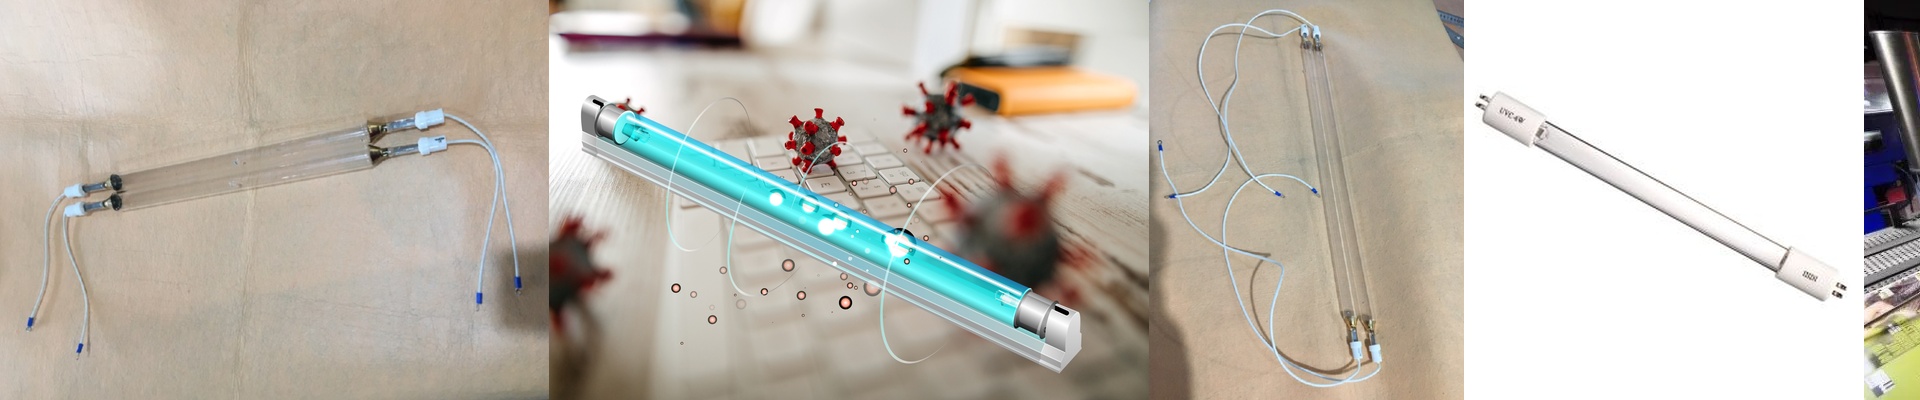


Getting the Most Out of Your Mercury UV Bulbs
Mercury UV bulbs are the real workhorses of the industrial world. They just keep humming along. We’ve spent 15 years obsessing over the tiny details—gas pressure, the purity of the quartz, the shape of the electrodes—because we know how frustrating it is when a lamp burns out way too early just because you pushed the wattage. The science behind the glow Here’s how it actually works: we excite mercury vapor to get that short-wave UV radiation (usually peaking at 254nm). But the secret is in the glass. If the quartz isn’t pure, it acts like a sponge, absorbing the UV energy instead of letting it fly through. That’s a recipe for overheating and a dead bulb. We also spent a lot of time tightening up where the electrodes sit. Why? Because in high-output setups, the arc likes to wander. When it wanders, the bulb dies. We stopped that. Dealing with the heat Let’s be honest: high-wattage lamps get hot. Like, really hot. They pump out a ton of infrared heat along with the UV light. This is where your cooling system comes into play. If your airflow is weak, the quartz can actually soften, or you’ll see the ends of the tube start to blacken. To fight that, we use specific alloys in the electrodes. It keeps the light steady and bright from one end of the tube to the other. Swapping them out You shouldn’t have to rebuild your entire line just to change a bulb. We made these as simple drop-in replacements for the big international brands. The pins match. The dimensions match. You just wire them into your existing ballasts and you’re back in business. But there is a trade-off. High intensity means more power and more heat. If you run a bulb at its absolute limit, you’ll cure your product faster, but the UV intensity will dip more quickly over time. My advice? Keep an eye on your mW/cm² every 500 hours. It’s a quick check that saves you from the nightmare of finding out your coating didn’t cure properly halfway through a production run.